How to Join All the Squares
Now that you’ve knit a few (or all) striped and solid color squares, we’ll go over a few options for joining them.
For novice knitters, tackling all 22 squares individually before seaming them together may provide a simpler approach. Waiting until you knit all your squares to join them will also give you more time to practice knitting garter stitch.
For knitters with with more experience, joining squares as you progress might be preferable. This method minimizes the amount of seaming required, streamlining the process.
TIP: If you’re struggling to see the edge stitches, try lightly blocking your squares before joining them.
Layout
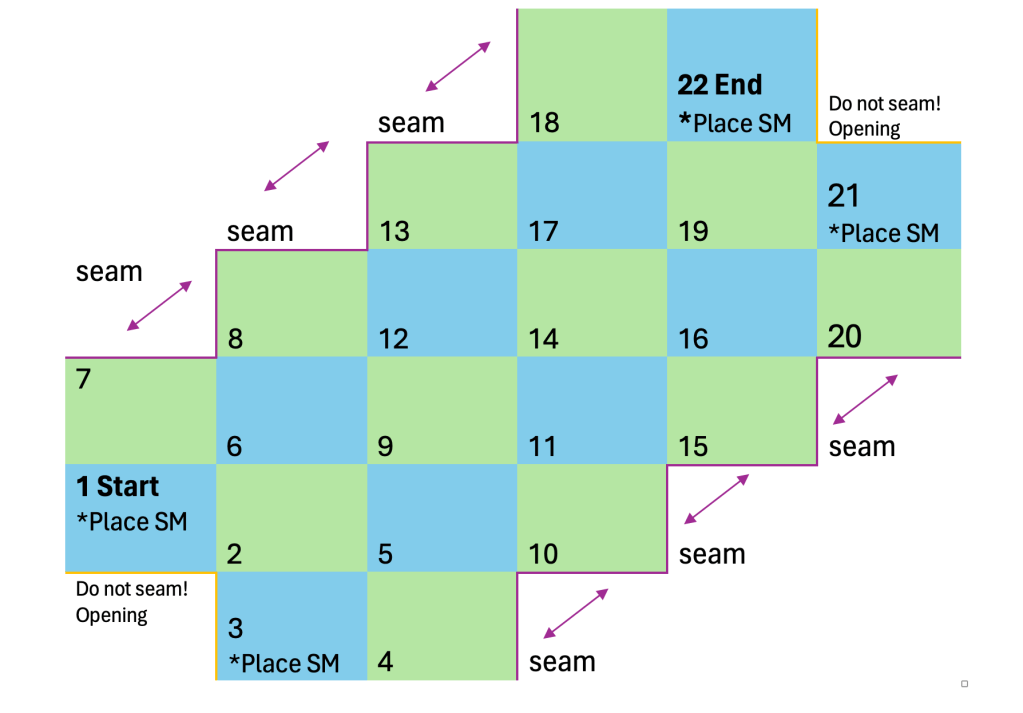
The chart below illustrates the placement of each square. Arrange your squares according to the chart. I recommend snapping a picture of the layout for future reference, to ensure you remember the intended arrangement.
Place a removable stitch marker (SM) on the right side of squares 1,3, 21 and 22. These will form the opening of the bag.
Make sure you don’t accidentally seam the opening sides.
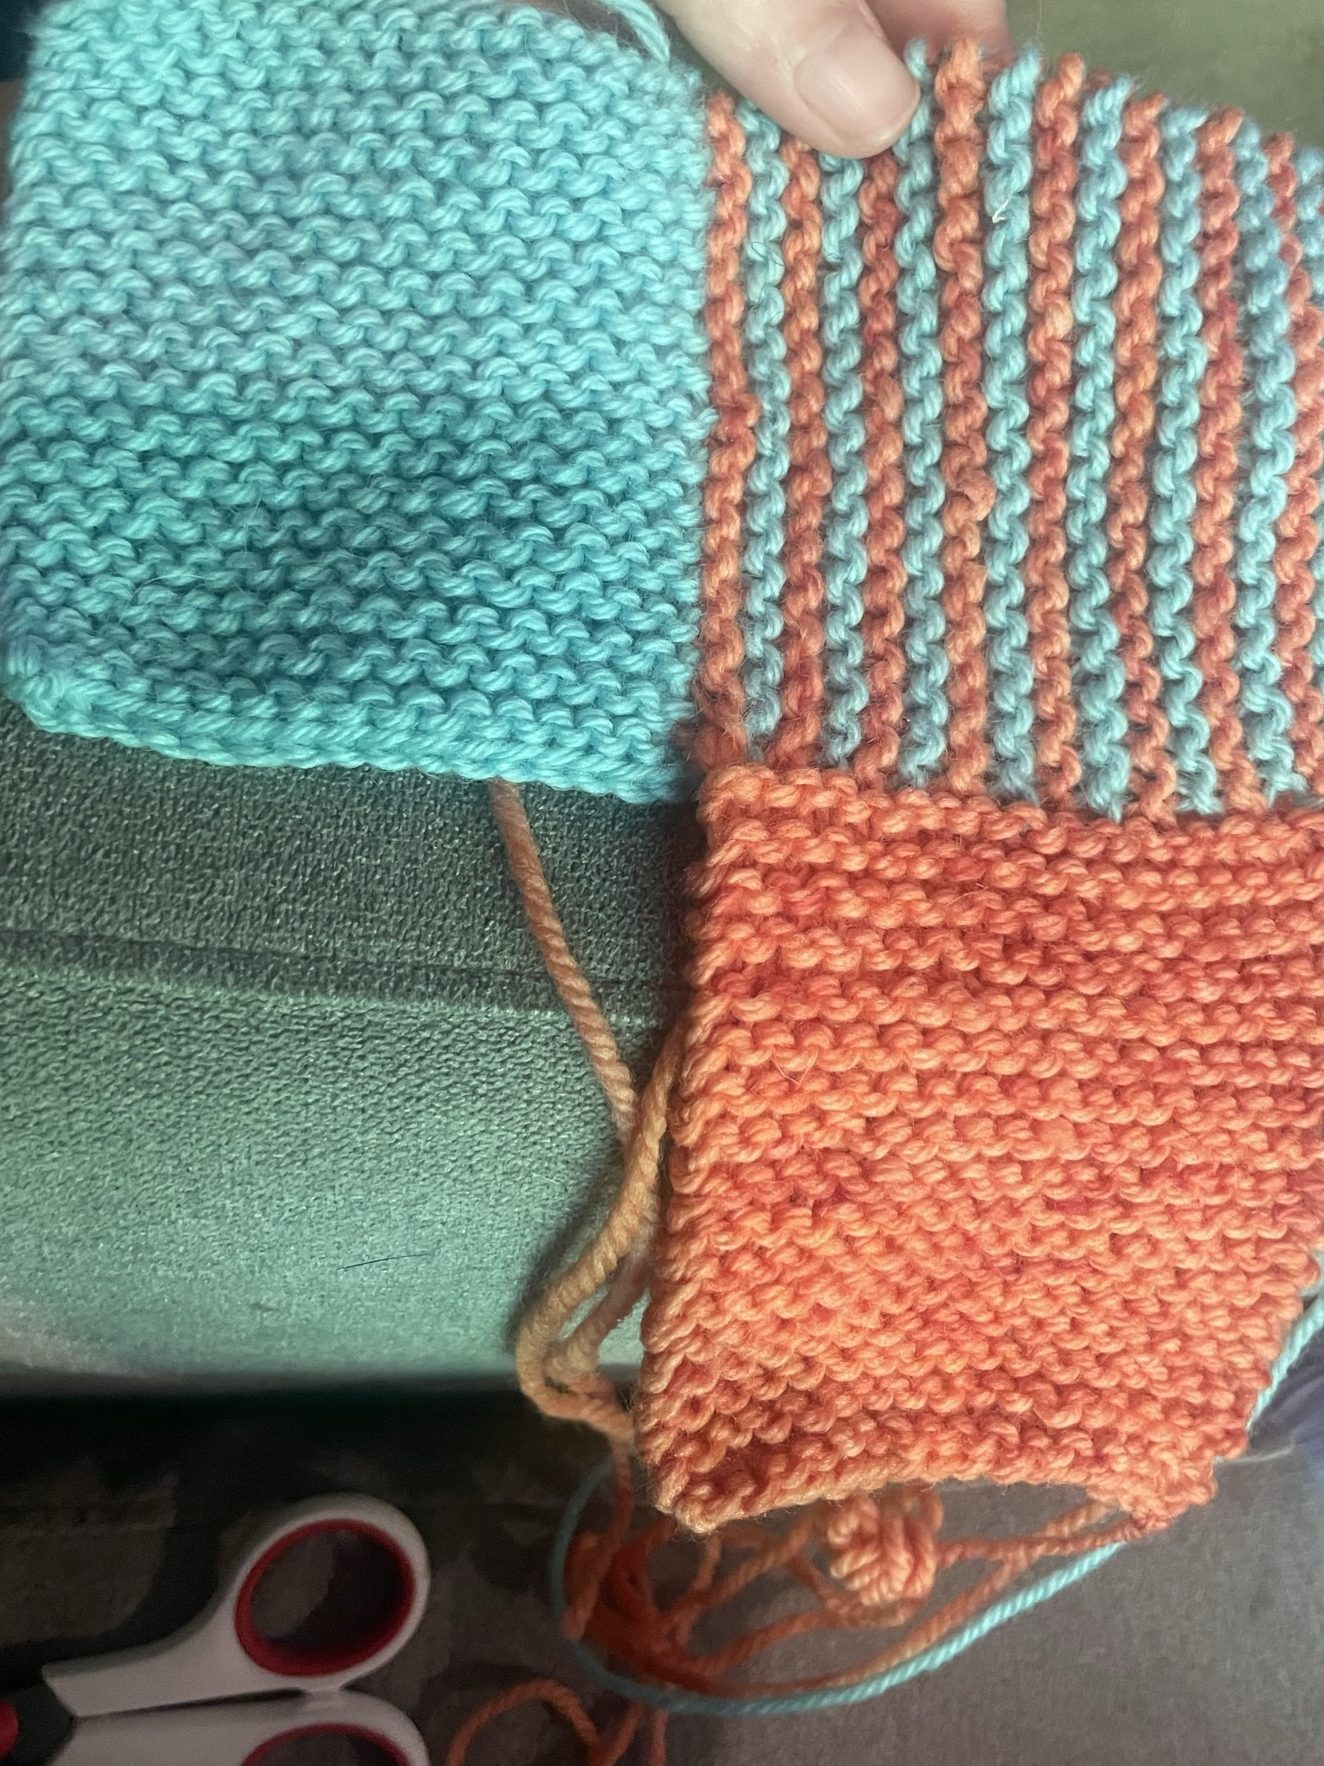
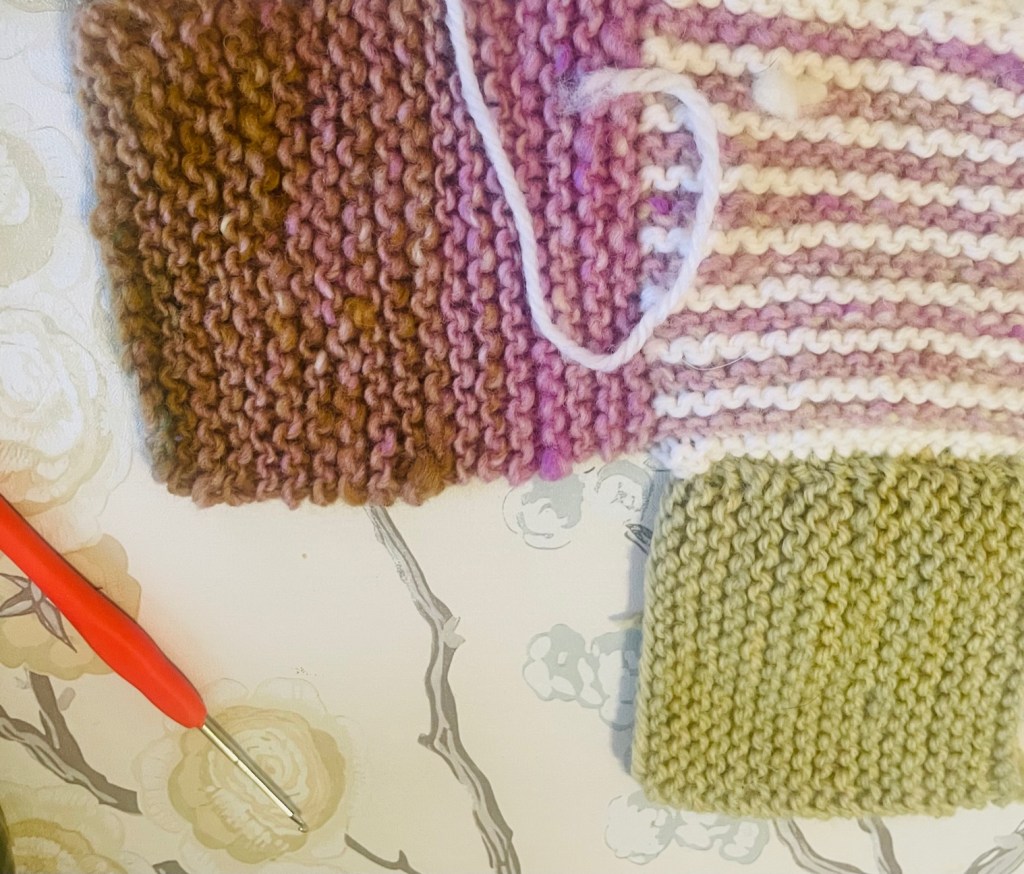
Note: the blue squares represent striped squares and the green squares represent solid color squares.
Three Methods to Join the Squares
Below are three methods for joining the squares. Review the descriptions and select your preferred technique. Personally, I advocate for the mattress stitch due to its ability to yield a tidy finish and reinforce the knitted fabric effectively.
1. Mattress Stitch
Difficulty level: Medium.
This join, known as the mattress stitch, is a staple in knitting patterns. Widely favored, especially in garment knitting, it offers an impeccable, virtually invisible seam, adding both strength and aesthetic appeal to your projects. Mastering this technique is absolutely worthwhile.
- Very Pink Knits has a slow-motion video demonstrating mattress stitch.
- Nimble Needles has a video demonstrating mattress st. with garter squares.
Slip Stitch Crochet Join
Difficulty level: Easy
If you crochet even a little bit, you may find this the easiest technique. When I tested this type of join for this pattern, I found it to be almost as neat as the mattress stitch. It provides flexibility and it also gives you a strong and nearly invisible seam. If you dislike the mattress stitch, this is a good option.
- Suzanne Bryan shows this join in her video, jump to minute 10:00 to see her demonstrating it.
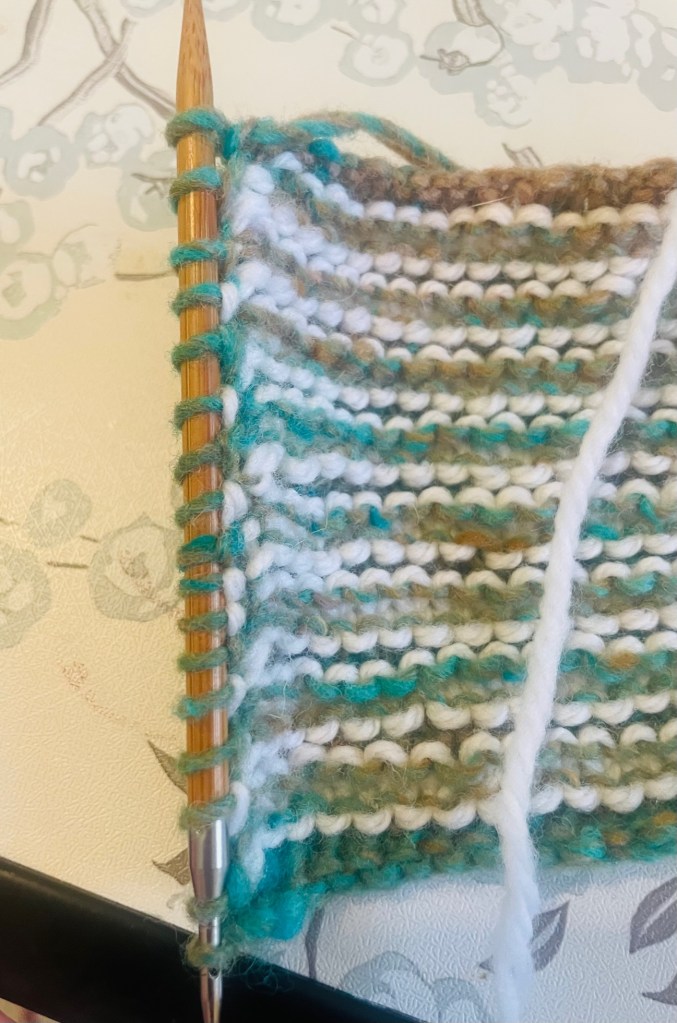
Picking Up Stitches
Difficulty level: Easy to Medium.
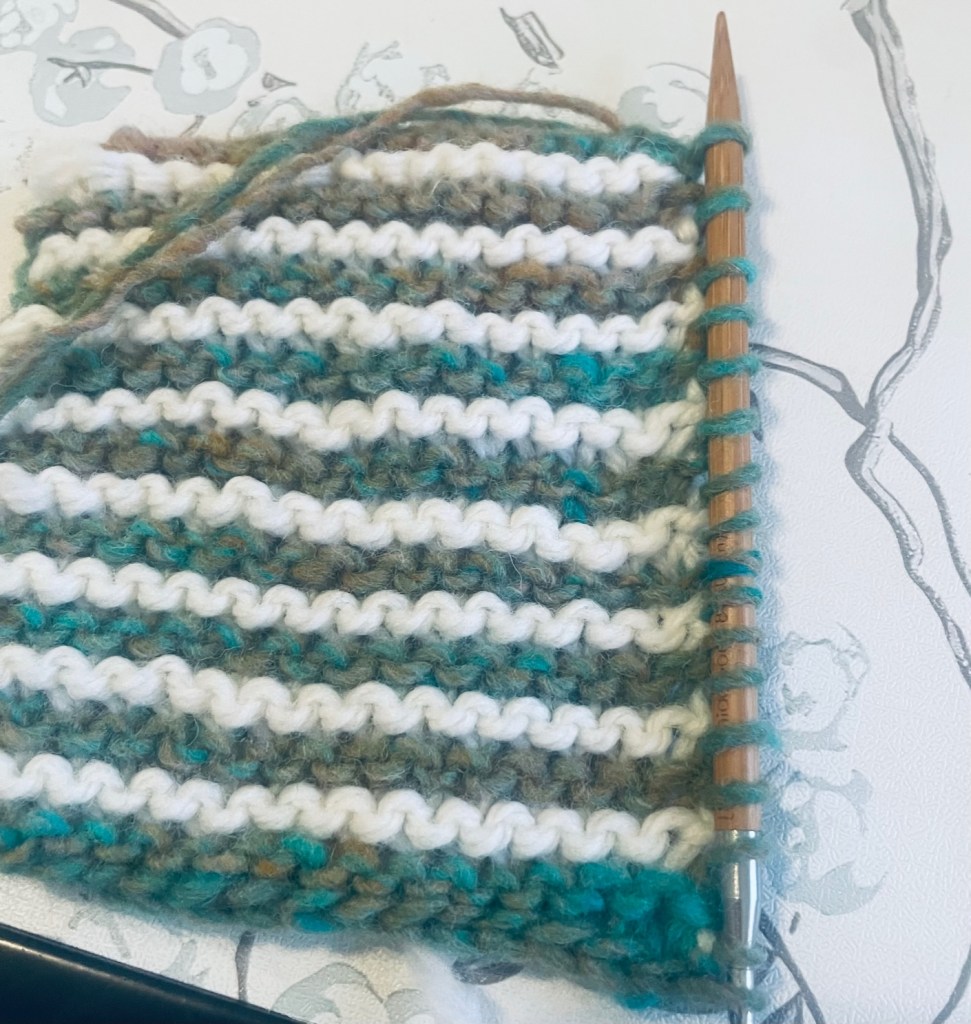
If you haven’t finished all your squares, this is a good technique to try out. You’ll use it countless times in knitting patterns. When done correctly is virtually invisible. You will still need to do a bit of seaming at the end for a few sides, but it will be minimal. This is how it works:
- Pick up stitches on the sides of the square with the right side of the fabric facing you.
- Pick up one stitch from the edge stitch “bump” in each ridge, for a total of 17 stitches picked up. Make sure to follow the graphic above.
This is how the back of the fabric should look using this technique:
Suzanne Bryan demonstrates how to pick up stitches on the edge of a garter pattern in this video. Notice how she picks up the edge stitch bump and how neat it looks on both sides.